
Easiest, Cheapest DIY Wedding Invitations


I have been doing some extensive research since I entered the world of weddings and I am quite baffled at the prices of how much these weddings cost. I have personally challenged myself to achieve a reasonable, meaningful wedding under $5,000 and to save all other costs towards our first home.
In order for me to finalize my budget, I had to look at averages and decrease that by 75%. I learned from brides.com, the average cost of wedding invitations is $5,000 to $8,000 for a set of 100 invitations…. which is crazy ridiculous by the way. I imagined that this can’t be true so I looked for another source and learned through Zola.com that the average is $300 to $700 for 100 invitations per the Wedding Report. I still think that the price range is still crazy so I took the minimum of $300, decreased by 75%…. I budgeted $75 for my DIY invitations for 100 people (actual count 40).
Some people are going to judge me as a cheap… I call myself practical. By all means, if you have the means to afford $500 invitations then so be it. I personally do not find it worth the one night of eating and drinking.
If you’re here to save money with me… keep on reading and let’s get started!
What you should already have:
Printer
Paper
Pens
Ruler
Scissors
Glue Stick or Double-sided tape
TOTAL: $0.00
what you’ll need to purchase:
Blank Note Cards (Kraft)……………..click here
Clear Vellum (8.5 in x 11 in)……………..click here
Twine Rope……………….click here
Bouquet of Rabbit Tail Grass (natural or white)………click here
Clear Hot Glue Sticks……….click here
Hot Glue Gun with Glue Sticks combo………..click here
Wax Seal Stamp of choice (heart shaped)…………click here
Total: $66.28
Apps to download for design:
Canva……………click here for website
TOTAL: $0.00


Step 1: Make/Print your invitation design

I personally use Canva.com for everything! It’s easy to use and the quality is spectacular. I am very much familiar with what Canva offers and could pretty much do a whole tutorial if it’s desired. It offers a wide-set of variety and consists of different fonts, elements, pictures, and so much more… all for free!
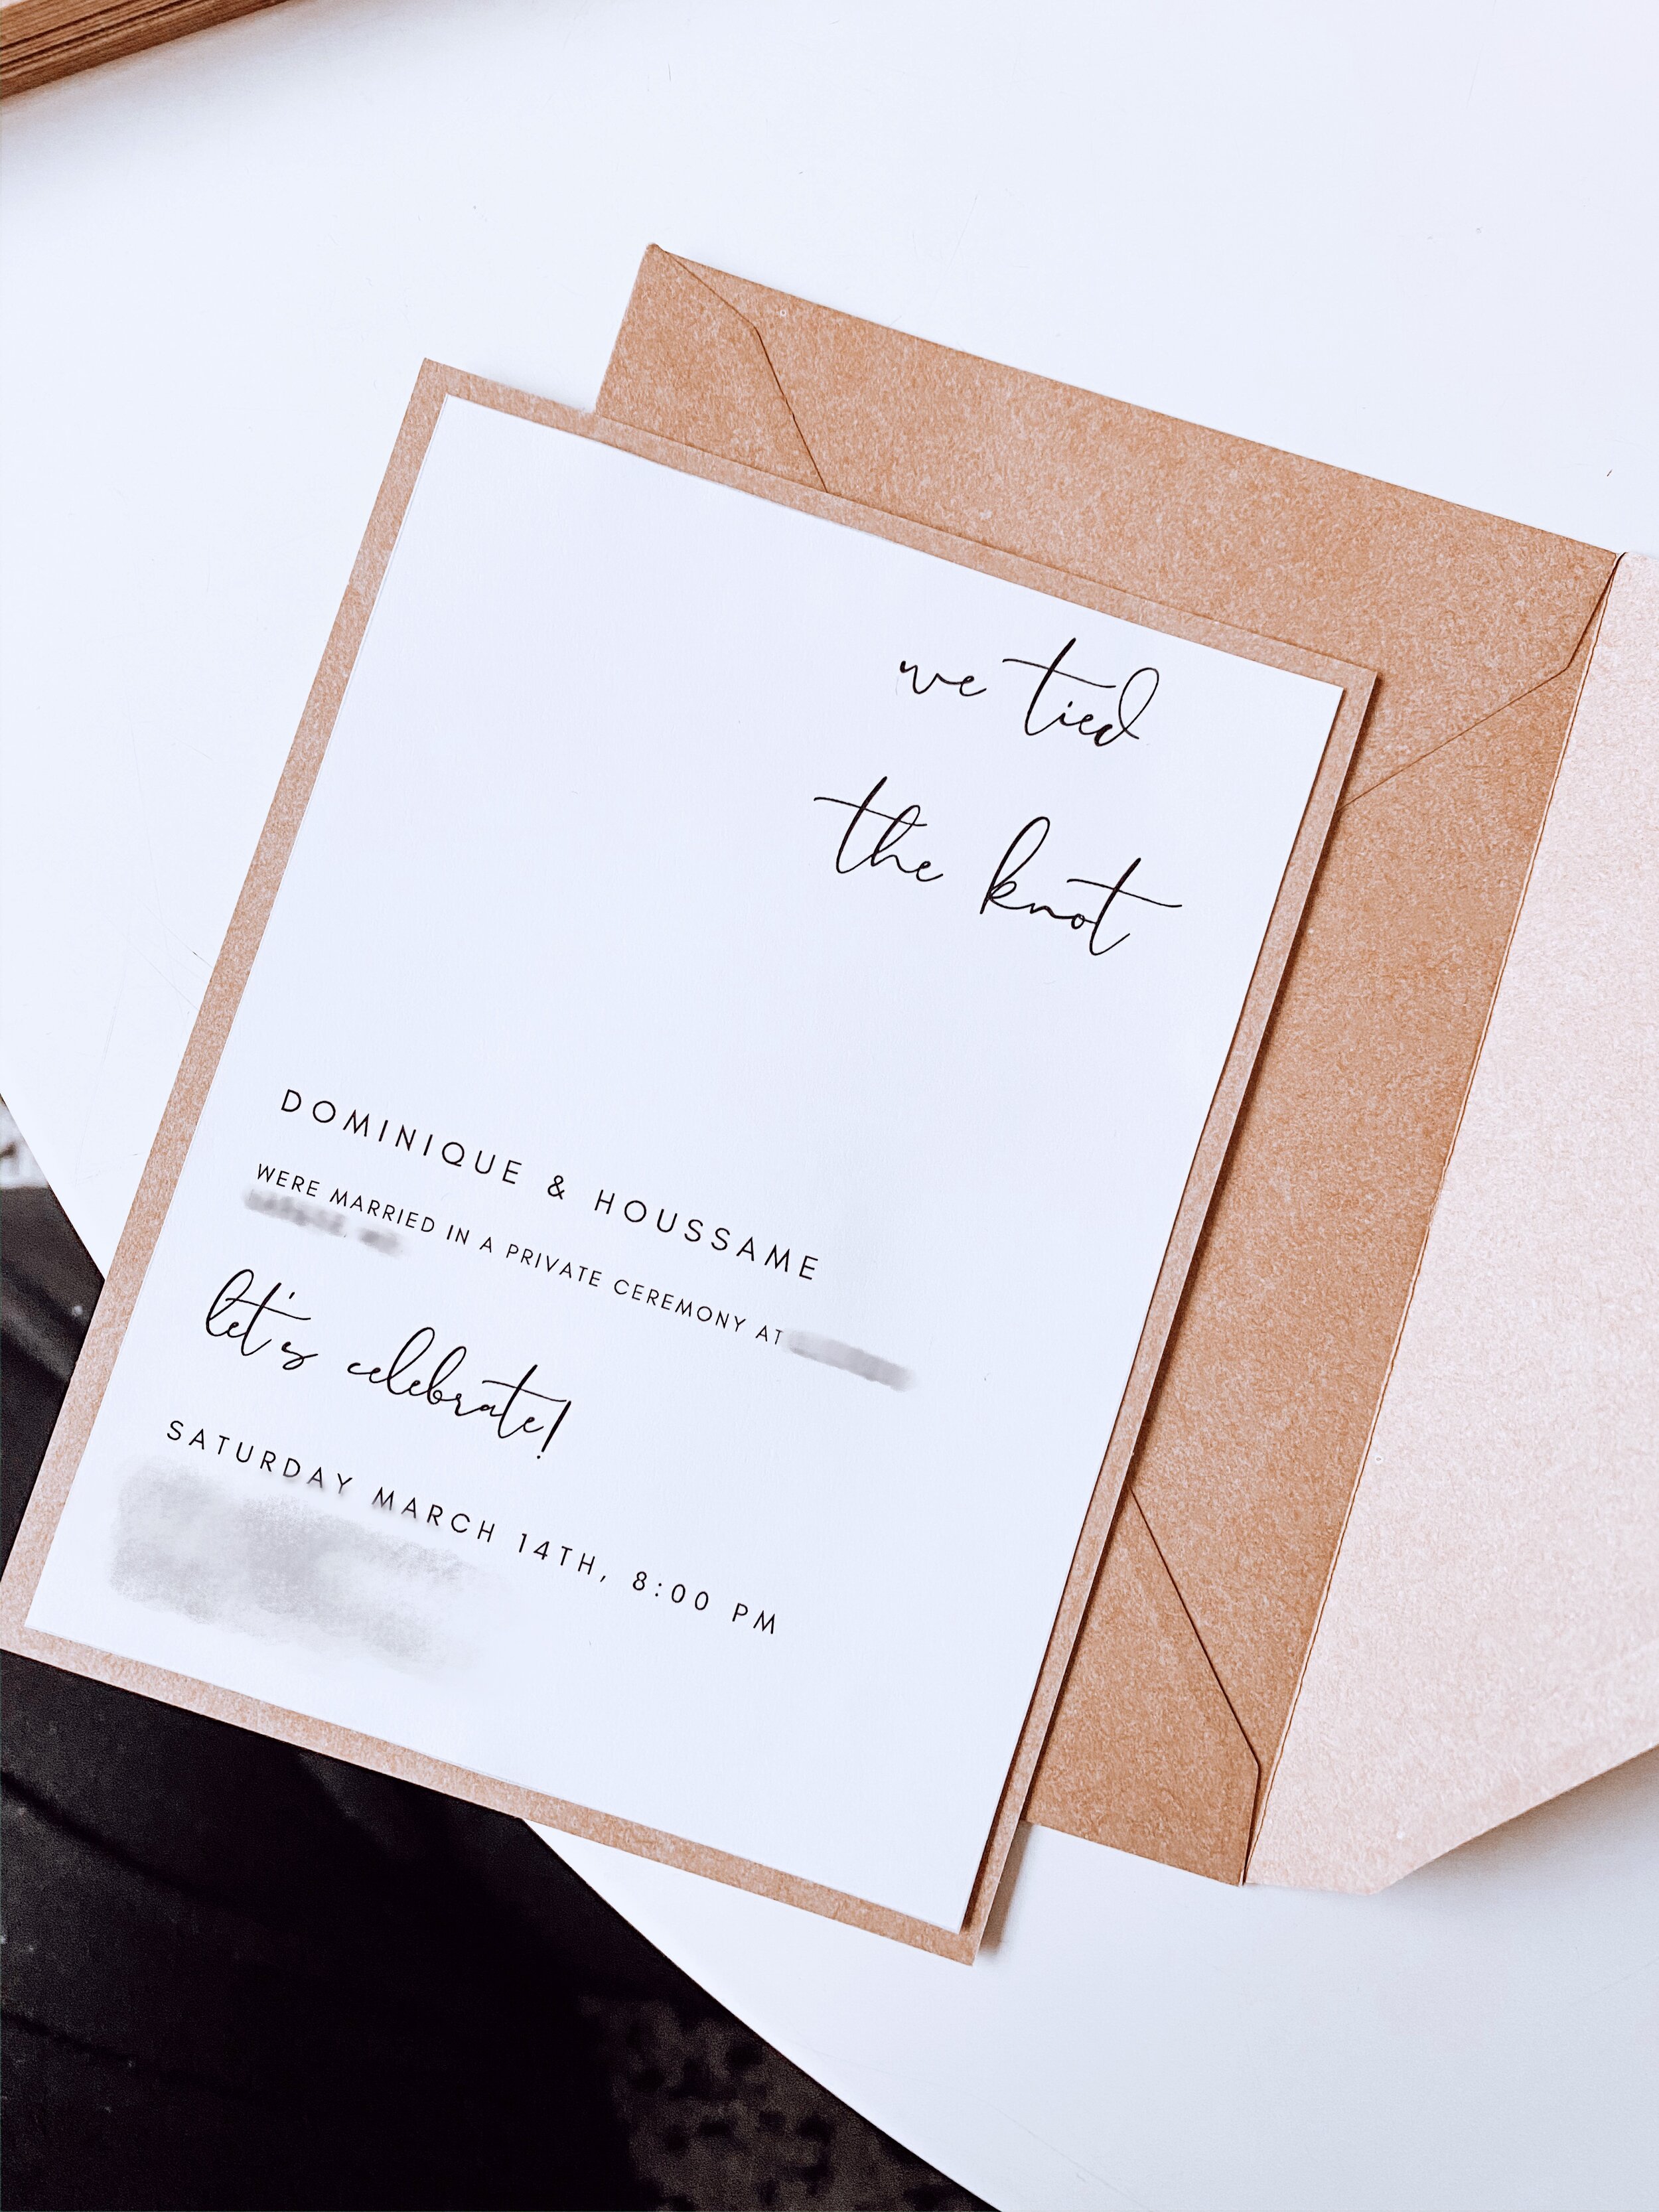
Take a look to the right. Here’s the sample design I personally made, inspired through a Pinterest photo I came across and pretty much tried to remake the idea. I do want to give credit when it’s due so I’ll post the link here for you to explore.

After you’ve made your design, you would want to download the image under PDF Print with crop marks. This will be an important step to help you align your lines easier with a ruler.
Once downloaded, you will want to print the PDF file but change the settings to size the document at a custom scale of 50%. You can print as many as you’d like. If it looks ordinary, an optional step could be to use premium paper. I personally used Premium 28 to have that semi glossy finish.

Step 2: Measure, align, and cut
It’s time to do some measurements and cut out our printed invitations. Grab a ruler and start connecting the crop marks as appropriate (always use pencil). Perfectly cut a long the lines and align it with your kraft card stock.
Make some more adjustments as needed to fit the card stock to your liking. Once you find the right measurement, take a glue stick or double sided tap to stick it together permanently.
Repeat as needed to how many invitations you need.
Now you have your wedding invitation.
Step 3: Measure and Cut Vellum
Take a piece of vellum, have it placed in front of you horizontally, and cut off 1.5 inches off to one side. Place your wedding invitation in the middle of the vellum paper and fold to cover the invitation. I folded mine in a way that the right-sided fold will overlap the left-side so that I could place the seal stamp almost to the middle of the invitation

Step 4: Glue down Rabbit Tails with Seal Stamp
Take your Rabbit Tail and place the strand where the right-sided fold ends. This is where you’ll place the clear hot glue and use your chosen seal stamp on top to seal the vellum folds. Keep the seal stamp in place until the hot glue cools off and then remove the seal stamp carefully.
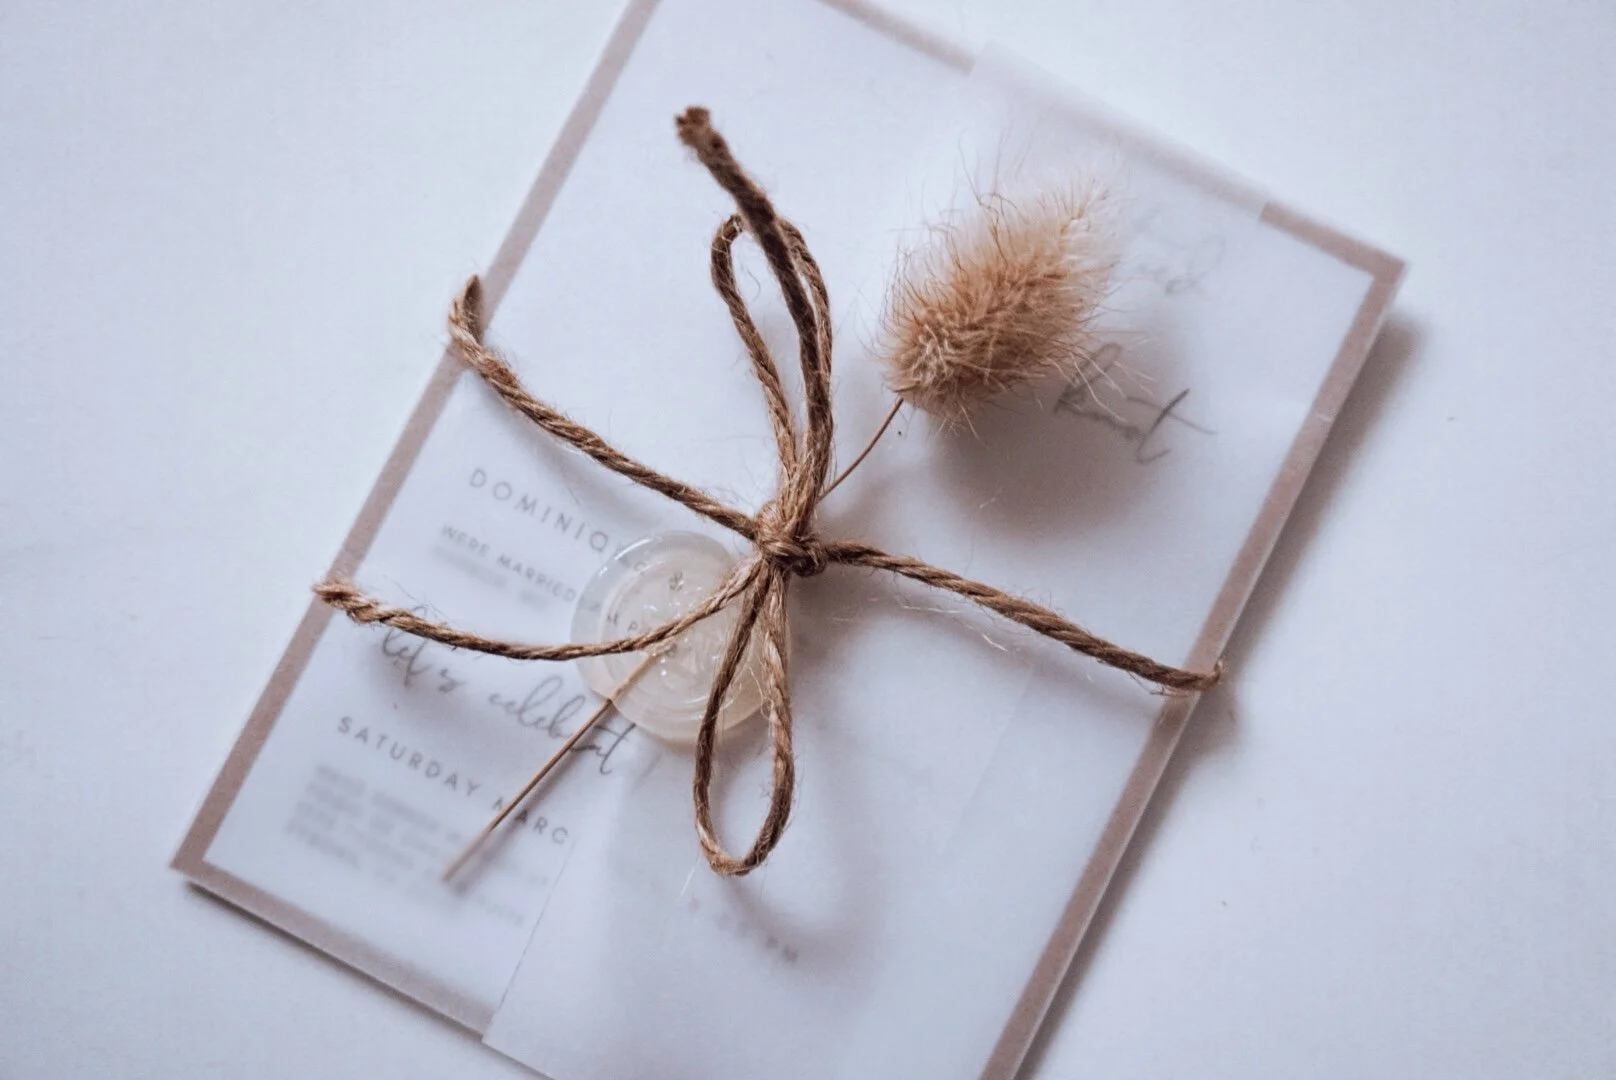
Step 5: Tie around invitation
Take your rope twine and tie around the invitation by making a small, tiny bow. And viola! You’re done.

The Finished Product


